MineCache Tutorial for Google Earth
If you followed the instructions from the Google Earth page, then your Google Earth should look something like this.

Using the Google Earth Places Panel
The main area you need to know about to use MineCache is on the left side of the Google Earth window under 'Places'. This is the area you will use to specify how you want to use MineCache.
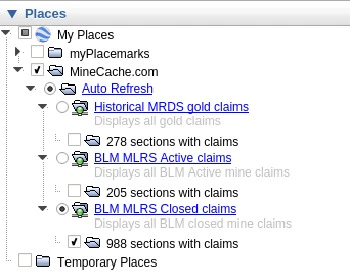
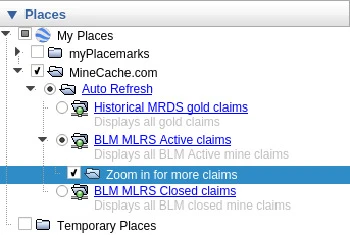
Choosing a Claim Type, Historical, Active, or Closed
You can choose one of 3 options. 1.) Historical MRDS gold claims, 2.) BLM MLRS Active claims, or 3.) BLM MLRS Closed claims. You can select one of the options by clicking in the small circle in front of each option. In the picture above, BLM MLRS Closed claims is selected.
Zooming and Navigating Google Earth
Once you stop moving in Google Earth for a moment Google Earth will send a request to MineCache.com for any claim sites in the area. As long as you are zoomed in to within 200 miles of the ground and if there are mine claim sites in the area then MineCache.com will send the mine claim sites to you in Google Earth.
Interpreting MineCache for Google Earth Status Messages
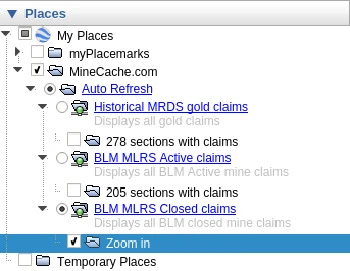
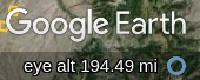
You will notice that the selected folder under 'Auto Refresh' will display messages to you depending on several things. One message you will get if you are not zoomed within 200 miles or less of the earth's surface is the message 'Zoom in' as it shows in the picture above. At the very bottom of the Google Earth screen on the right hand side is a place that says 'Eye alt' plus some number in miles. This is your height above the ground. This is shown in the picture below.
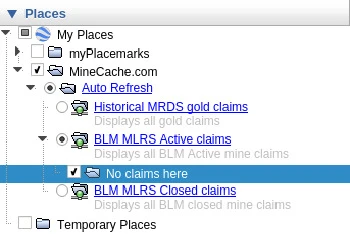
Another message you may get if you are not in an area with any mine sites, is the message 'No claims here' as it shows in the picture below.
Now if you hit the mother lode you may get a message like the picture below that says 'Zoom in for more results'. You will get this message when there are more mines to show than the current default limit will send at one time. What this means is you would have to zoom in closer to narrow down the search area.
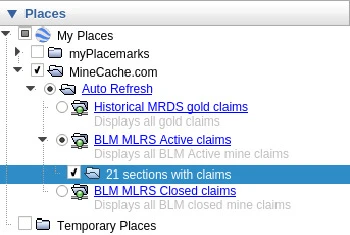
If you are in an area with lots of claims, another common message will be the '### Mines in this view' message. Where '###' is the number of PLSS sections that have claims in the view.
Google Earth Network Status
You may have noticed that some folders have a little green dot like this
 . This means that everything is good.
If the little dot is yellow like this
 and it's moving back
and forth then MineCache is requesting data from MineCach.com.
For best performance try not to move the Google Earth view while this is happening.
and it's moving back
and forth then MineCache is requesting data from MineCach.com.
For best performance try not to move the Google Earth view while this is happening.
If the little dot ever turns red like this
 then some kind of error happened. When this
happens the aerial map view will not update with new claims. Just try right clicking on it and
select 'Refresh', that should get it going again.
then some kind of error happened. When this
happens the aerial map view will not update with new claims. Just try right clicking on it and
select 'Refresh', that should get it going again.
Mine Details
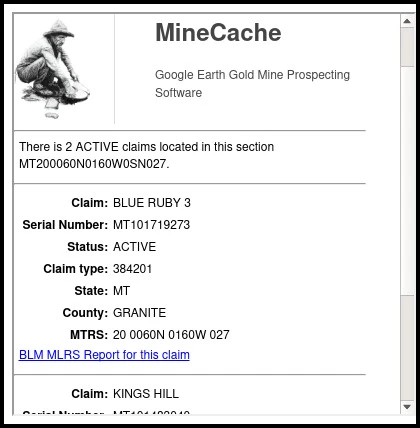
While you are scanning new prospecting areas you may want to click on one of the sections (gold boxes) on the screen. This will bring a up a brief details page for the mines within that section.
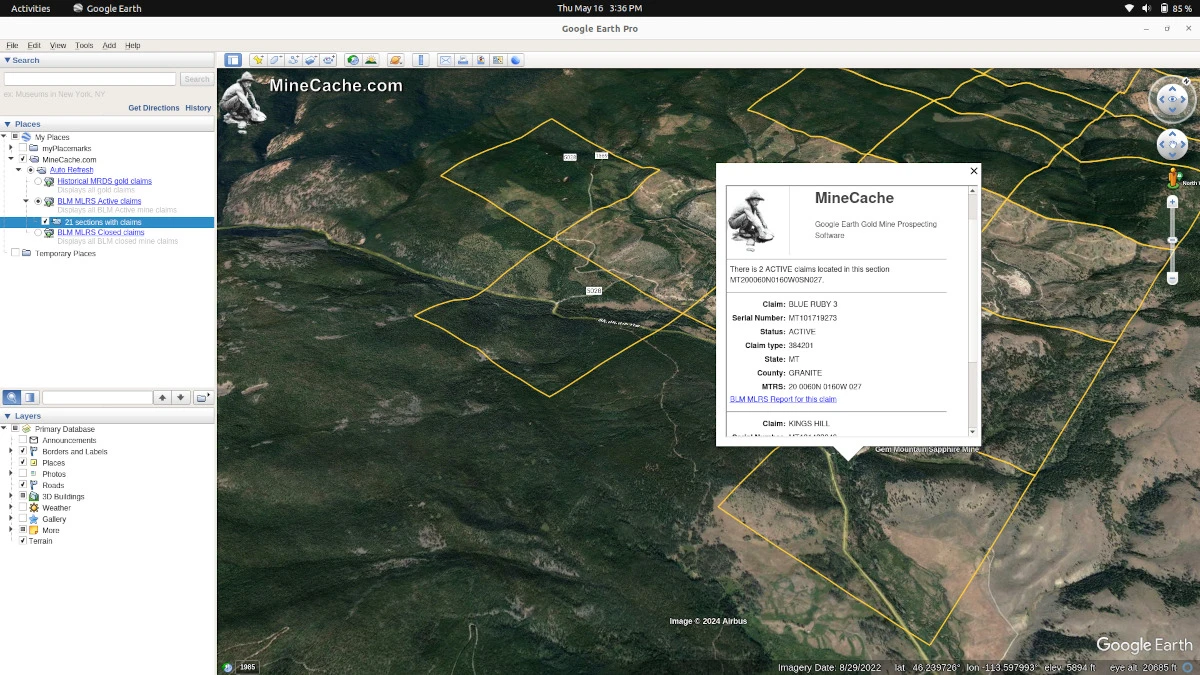
In this window there are a few mine details and a link for each claim that will get the official BLM MLRS report that opens up in your web browser when you click it. The report allows you to see more details about the mine.
That's it
Well that's the quick tutorial. I hope you have as much fun using it to research your prospecting areas as I had making it and using it for myself.
Next: Webmap Tutorial