MineCache Tutorial for Webmap
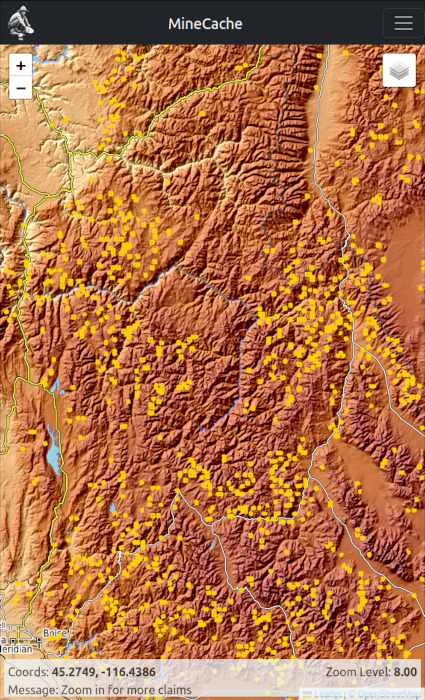
After you have signed up, then login to your account. You will be taken to the Webmap, or you can click on 'Webmap' from the top navigation menu bar. Your screen should look similar to the image below.
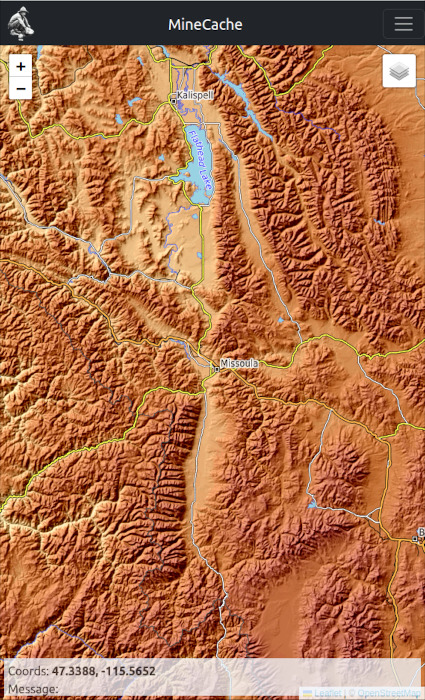
The main area you need to know about to use MineCache Webmap is the Layers button on the top right side of the window. This is the area you will use to specify how you want to use MineCache.
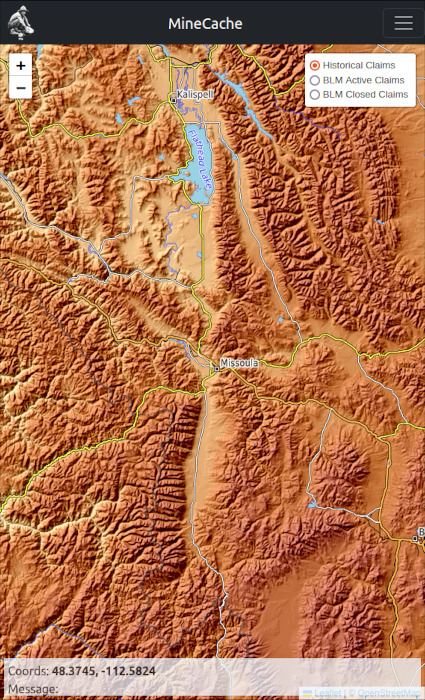
You can choose one of 3 options. 1.) Historical gold claims, 2.) BLM Active claims, or 3.) BLM Closed claims. You can select one of the options by clicking in the small circle in front of each option. In the picture above, Historical claims is selected.
Depending on your device, you can use your finger or mouse to move around on the map. On mobile devices, moving your finger on the screen will move the map. If your using a mouse, left click and drag to move the map.
Once you stop moving the map for a moment the app will send a request to MineCache.com for any claim sites in the area. As long as you are zoomed in close enough to the ground and if there are mine claim sites in the area then MineCache.com will send the mine claim sites to you in the Webmap.
In order to zoom the map in on a mobile device, use two fingers and spread them out. Or click on the '+' icon on the top left corner of the Webmap screen. To zoom out, use two fingers spread apart and pinch them on the screen to zoom in. Or click on the '-' icon on top left corner of the Webmap screen.
In order to zoom the map using your mouse, use the scroll wheel to zoom in or out. Or click on the '+' or '-' icons on the top left corner of the Webmap screen.
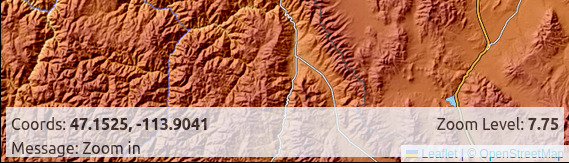
You will notice at the bottom of the Webmap screen, messages will display to you depending on several things. One message you will get if you are not zoomed in close enough to ground is the message 'Zoom in' as it shows in the picture above. At the very bottom of the Webmap screen on the right hand corner is a place that says 'Zoom Level:' plus some number. This is your zoom level above the ground. In order for Webmap to display mine locations, the zoom level must be between 8.00 - 14.00.
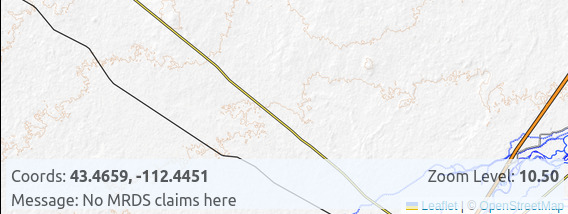
Another message you may get if you are not in an area with any mine sites, is the message 'No claims here' as it shows in the picture below.
Now if you hit the mother lode you may get a message like the picture below that says 'Zoom in for more claims'. You will get this message when there are more mines to show than the current default limit will send at one time. What this means is you would have to zoom in closer to narrow down the search area.
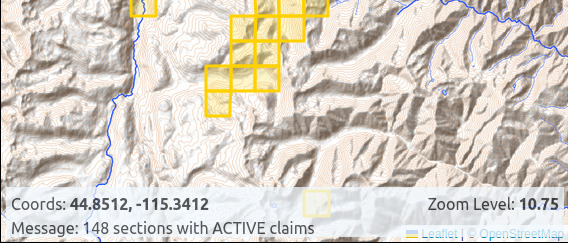
If you are in an area with lots of claims, another common message will be the '### Mines in this view' message. Where '###' is the number of PLSS sections that have claims in the view.
Mine Details
While you are scanning new prospecting areas you may want to click on one of the sections (gold boxes) on the screen. This will bring a up a brief details page for the mines within that section.
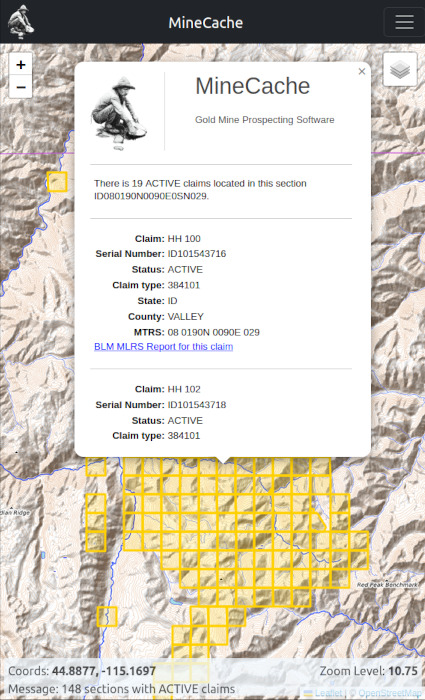
In this window there are a few mine details and a link for each claim that will get the official BLM MLRS report that opens up in your web browser when you click it. The report allows you to see more details about the mine.
Well that's the quick tutorial. I hope you have as much fun using it to research your prospecting areas as I had making it and using it for myself.